
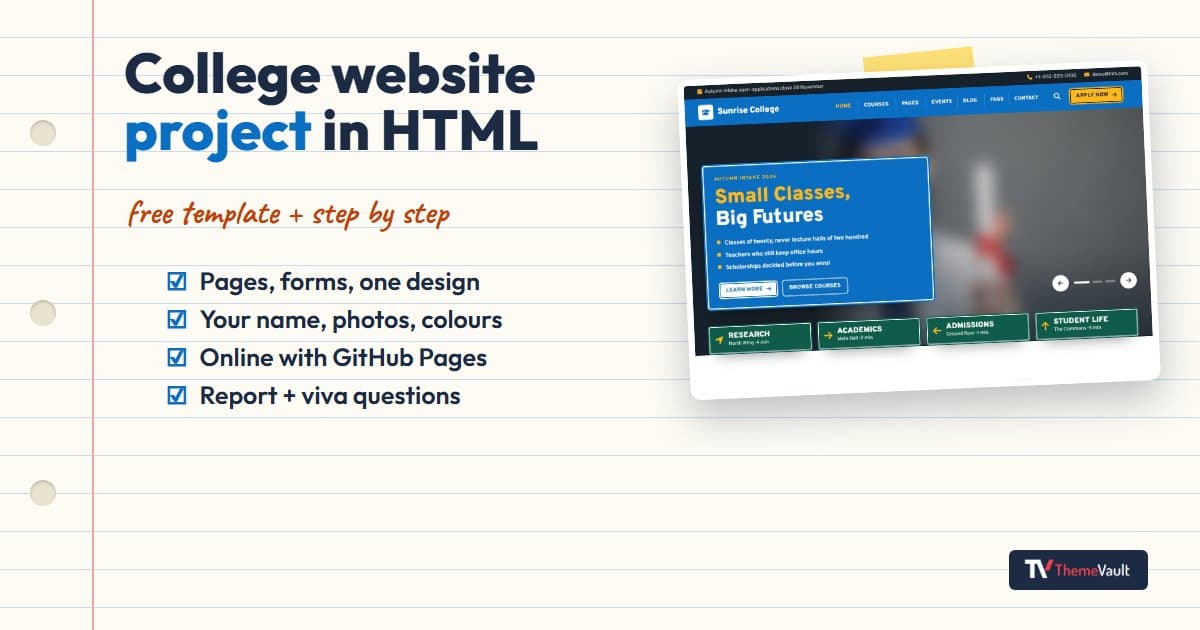
If you typed “college website project in HTML with source code” into Google, you’re probably a student, quite possibly in India, with a submission coming up, a guide who wants to see something working, and a viva where someone will ask you how it works. You don’t need a slideshow of fifty templates. You need one good starting point, a clear idea of what to change, and enough understanding to explain it.
So this guide does exactly that with one template. On 17 November 2026 I downloaded our free college template, Educatunify, the same zip any visitor gets, opened it on a normal Windows laptop, turned it into a site for an imaginary “Sunrise College”, and tested the forms. Below is everything I changed, what surprised me, and what I’d put in the project report. It’s free, it’s plain HTML, CSS and JavaScript, and you can follow along in an afternoon.
What a college website project usually needs
Project guidelines differ from one college to the next, so check yours first. Still, a college website almost always covers the same handful of pages, and it helps to know where each one is before you start editing. Here’s how they map onto the template:
| Page your project needs | File in the template |
|---|---|
| Home page with notices and highlights | index.html (a second layout is in home2.html) |
| About the college | about.html |
| Courses or departments | categories.html, featuredcourses.html and one course in detail in course-detail.html |
| Faculty | teachers.html and one profile in teacher-profile.html |
| Admissions with an application form | admissions.html |
| Events and notices | event.html and event-detail.html |
| Fees | price.html |
| FAQ | faq.html |
| Contact with a form and map | contact.html |
| News or blog | blog-2column.html, blog-3column.html and three article layouts |
That’s 19 pages, plus a 404 page and seven email designs (application received, course enquiry, event seat booked and so on) that show what the college would send after each form. Most student projects stop at five or six pages, so you’re starting well ahead.
Download it and open it
Get the free download from the Educatunify template page (you can click through the live preview first). Unzip it and you’ll find one folder, educatunify, with this inside:
educatunify/
  index.html, about.html, admissions.html, contact.html ...  (the pages)
  css/      bootstrap.min.css, design.css, style.css ...
  js/       bootstrap.bundle.min.js, main.js, theme.js, view-switch.js
  images/   photos, slider images, icons
  fonts/    the fonts, so the site works without internet
  License.txt, CHANGELOG.txt
Now just double-click index.html. That’s it: no server, no installation. When I opened it this way, the home page loaded with no errors and nothing missing. The fonts ship inside the folder, so the site even works on a lab computer with no internet, apart from the Google Map on the contact page, which needs a connection.
For editing, I’d use VS Code (free). Open the whole educatunify folder in it, not a single file, so you can jump between pages. The Live Server extension is handy because it reloads the browser every time you save, but it’s optional; refreshing the browser by hand works just as well.
Two designs in one download
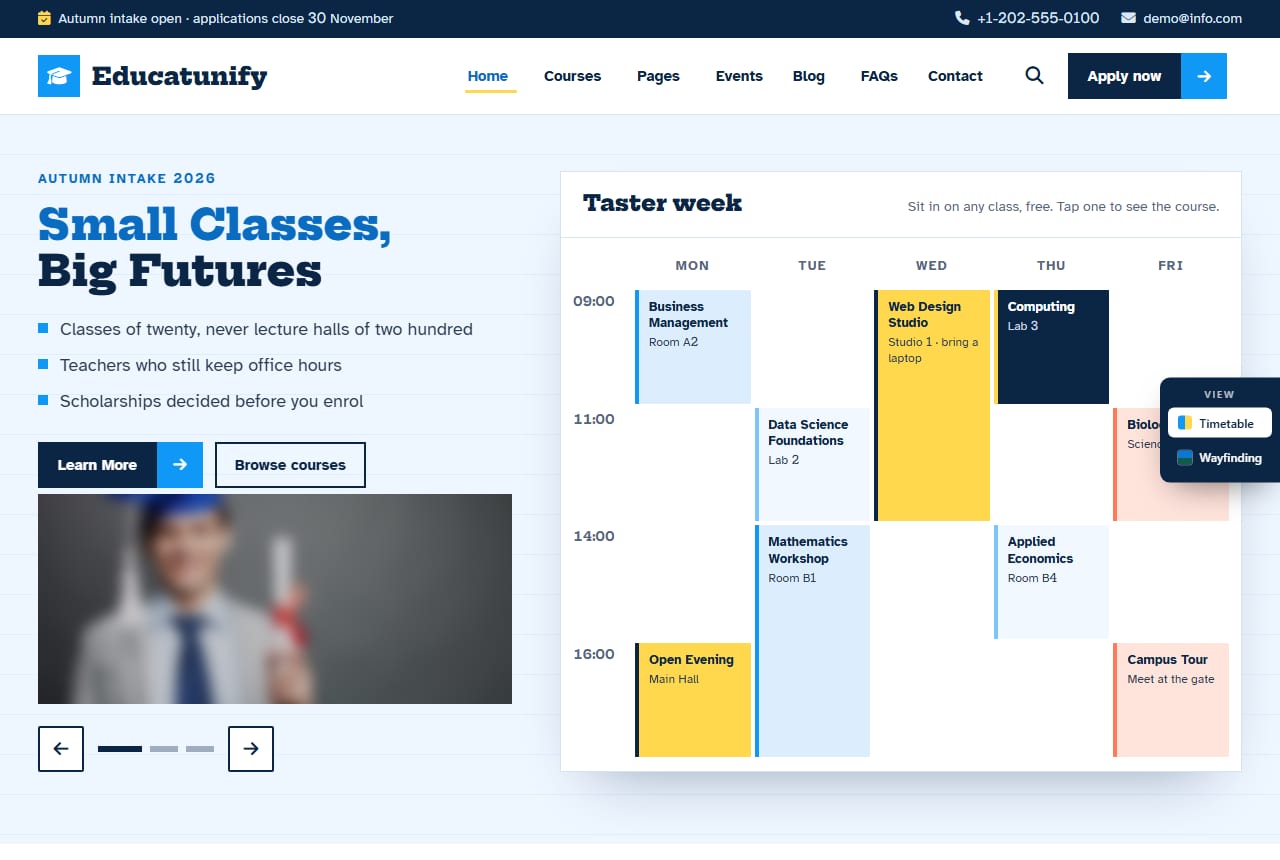
The first surprise for most people: there’s a small “View” box on the right edge of the screen. Educatunify 2.0 has two complete designs on the same pages. “Timetable” is navy and bright blue, with a colour-coded week timetable on the home page. “Wayfinding” looks like campus signage, with a full-width photo and direction signs. Click both and pick the one you like.
For your project, choose one and remove the switch, because a visitor (or your examiner) shouldn’t be changing your college’s look. The template’s own instructions are at the top of js/view-switch.js, and they worked exactly as written. On every page:
- Delete the line
<script src="js/view-switch.js" defer></script>near the bottom (and the comment above it). - Set your design on the first line:
<html lang="en" data-theme="wayfind">for Wayfinding, ordata-theme="timetable"for Timetable. - Delete
<script src="js/theme.js"></script>in the head, so a choice remembered from the demo can’t override yours.
Doing this on 28 files by hand is boring, so use VS Code’s search and replace across files (Ctrl+Shift+H). One tip from my first attempt: the switch line has defer at the end, so search for view-switch.js rather than pasting the whole tag, or you’ll miss it like I did.
Make it your college
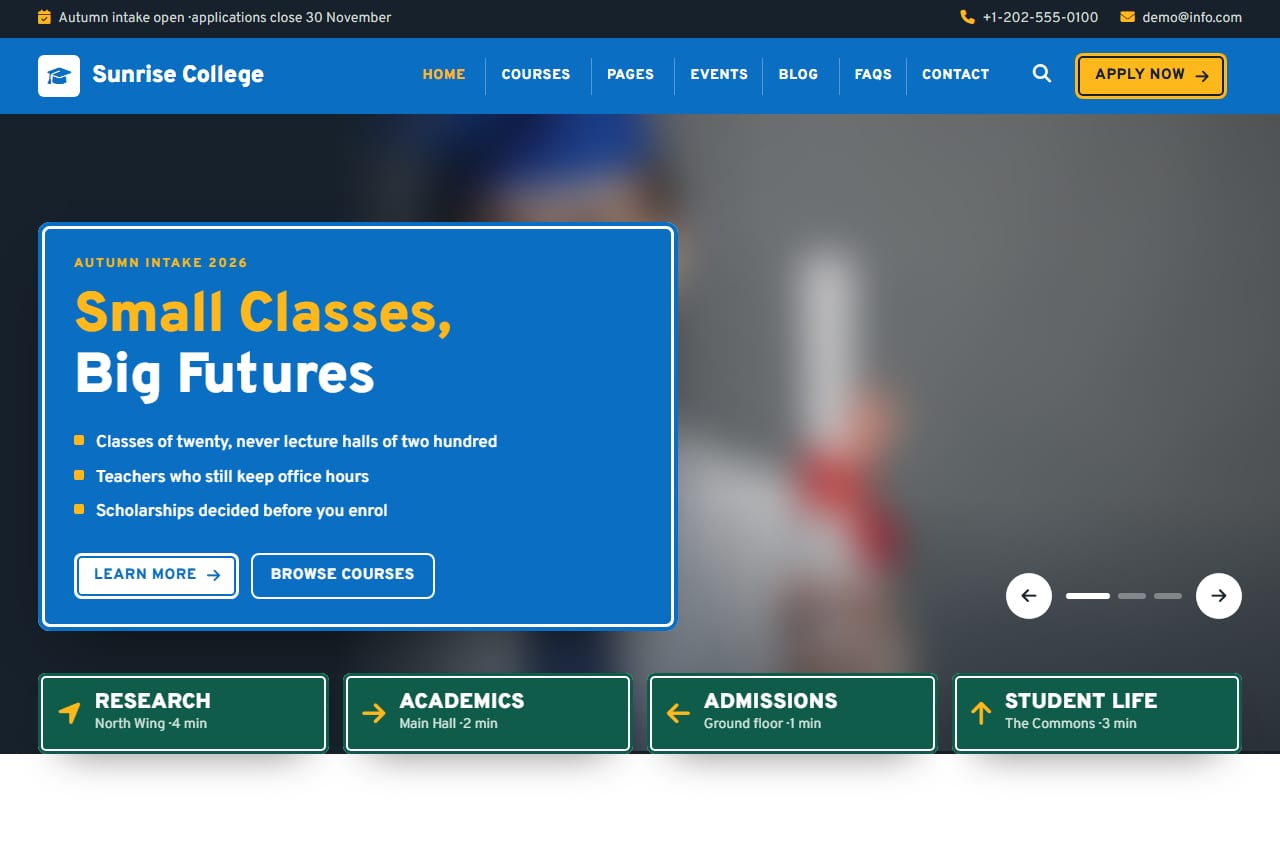
The name. In the header of every page there’s <span class="ed-brand__name">Educatunify</span>. Replace Educatunify with your college’s name across all files, and change the <title> line at the top of each page too, because that’s the text in the browser tab. Here’s the home page after I did both, with the Wayfinding design fixed and the switch gone:
The colours. Every colour is a variable in css/design.css, so you change one line instead of hunting through the stylesheet. For Timetable they’re near the top (for example --ed-brand: #1098f7; is the main blue and --ed-accent: #ffd84d; the yellow). Wayfinding has its own set further down, around line 759. Change the brand colour to your college’s colour and refresh.
The photos. This is the second surprise: the photos in the download are blurred on purpose. The demo’s photos are licensed for the demo only, so the zip ships blurred placeholders, and License.txt says so. Replace them with photos of your own college (your campus, your labs, your fest) and keep the same file names, so you don’t have to touch the HTML. Matching the sizes keeps the layout neat:
| Image | Size in pixels |
|---|---|
Home page slider (images/slider/slider_img_01.jpg to 03) | 1400 × 650 |
Page banner (inner-banner.jpg) | 1300 × 220 |
Course cards (popular1.jpg onwards) | 265 × 187 |
Events (event1.jpg onwards) | 267 × 248 |
Faculty photos (teacher1.jpg onwards) | 100 × 100 |
Blog cards (blog1.jpg onwards) | 365 × 214 |
If your photo has a different shape, crop it first (Windows Photos or any free editor will do) rather than letting the browser stretch it.
The text. Courses, faculty, events and fees are ordinary HTML. Find one card, change its text, then copy that card to make more. The demo phone number, email and address are in the top bar and the footer of every page, so replace those across all files as well.
The forms: what they do and don’t do
The admission form is the part examiners like to try. It has eleven required fields (first and last name, email, phone, date of birth, country, course, start date, previous study, a short statement and a consent tick), and it checks them properly. I submitted the contact form empty and every field was highlighted with “Please check the highlighted fields.” Filled in correctly, it showed “Thanks, your message has been sent. We reply within one working day.”
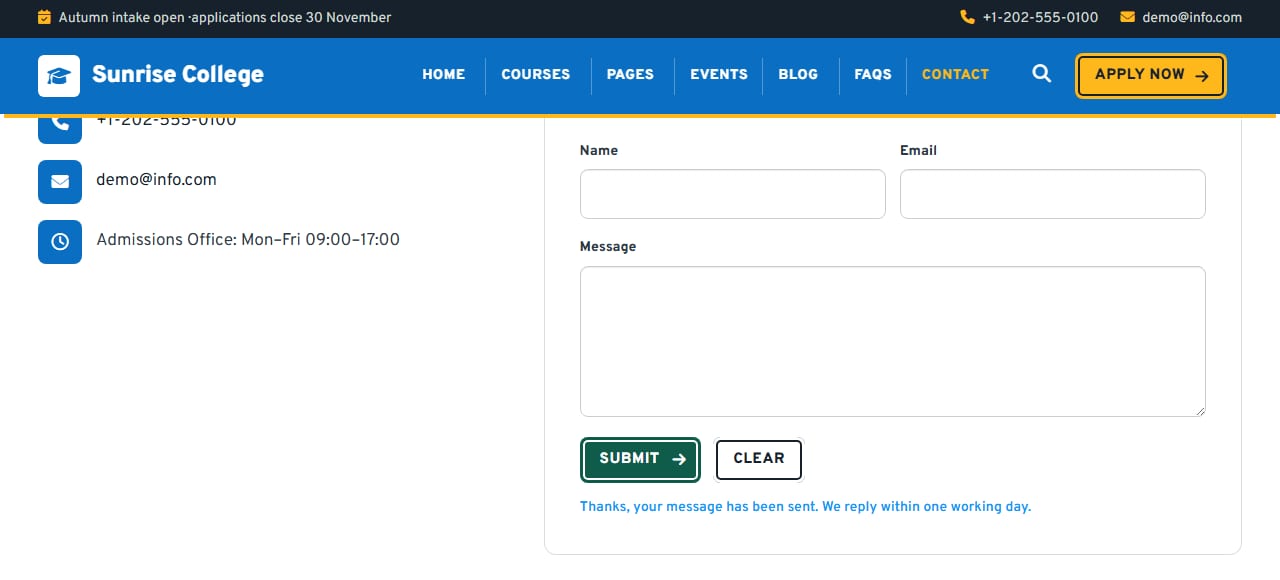
But nothing was actually sent. A plain HTML site has no server to receive a form, so js/main.js checks the fields, shows the message and clears the form. For a college project that’s usually exactly what you want, and you can explain it in the viva as client-side validation in JavaScript.
If your guide wants the form to really arrive somewhere, use a free form service such as Formspree, which gives you an address to post to. Then change the form’s opening tag. For the contact form:
<!-- before -->
<form id="contact-form"
      data-ed-form="contact"
      novalidate>

<!-- after -->
<form id="contact-form"
      action="https://formspree.io/f/your-form-id"
      method="POST">
Only the attributes that change are shown here; leave the others on the tag (class, name, aria-label) as they are.
Removing data-ed-form stops the template’s script from handling that form, and removing novalidate lets the browser itself insist on the required fields. The form then posts to your service, which emails you each message.
Adding a page of your own
Say your college needs a “Placements” page. Copy about.html, rename the copy placements.html, change its title and replace the content in the middle with your own (a table of companies and packages works well). Keep the header and footer exactly as they are, so the page matches the rest of the site. Then add a link to it in the menu. The menu is in the header of every page, so add the same <li> line in each file, and check it on a phone-sized window, because the menu folds into a button on small screens.
Check it on a phone
Check it at phone width before anyone else does. In Chrome, press F12 and click the phone icon to see the site at phone width. The template is responsive, built on Bootstrap 5: when I checked my edited copy at 390 pixels wide, nothing spilled off the side of the screen. Check again after your edits, especially tables you add yourself; a wide table is the usual culprit, and wrapping it in <div class="table-responsive"> fixes it.
Demo leftovers to replace before you submit
When I went through the files for this guide, I found a few things that come straight from the demo and are easy to forget, because they sit in the header and footer of every page rather than in the middle where you’re working. An examiner who spots one of these will know you didn’t finish the job:
- The phone number and email in the top bar:
+1-202-555-0100anddemo@info.com. Search for both across all files and put in your college’s details. - The social media links. The icons in the footer point to
https://dribbble.com/as placeholders, 21 times across the pages. Point them at your college’s real Facebook, Instagram or LinkedIn pages, or delete the icons you don’t need. - The map on the contact page shows Richmond, Virginia. In Google Maps, search for your college, click Share, then Embed a map, copy the
srcaddress from the code it gives you, and paste it over the old one incontact.html. - The browser tab title still says Educatunify on every page until you change the
<title>line, and that’s the first thing anyone sees in a screenshot. - The notice in the top bar (“Autumn intake open, applications close 30 November”) is demo text. Turn it into a real notice for your college, such as admission dates or exam results.
- The small stub files. Eight files such as
button.html,form.htmlandtypography.htmlare only 275 bytes each and just forward to another page. They’re harmless, but you can delete them so your project folder only holds pages you can explain.
A quick way to catch the rest: open each page, read every heading and button out loud, and ask whether it’s true for your college. Anything that isn’t, change it.
Put it online for the viva
You can show the project straight from the folder, but a live link looks better on the first page of your report. The simplest free option for students is GitHub Pages. GitHub’s own guide boils down to this:
- Create a free GitHub account, then a new public repository (free accounts need a public one for Pages).
- Upload the contents of the
educatunifyfolder, soindex.htmlsits at the top of the repository, not inside a subfolder. - Open Settings → Pages, choose to deploy from a branch, pick
mainand/ (root), and save. - Wait a few minutes (GitHub says changes can take up to ten), then use the Visit site link. The address looks like
https://yourname.github.io/your-repository/.
I didn’t publish my Sunrise College copy there, because we don’t put copies of our demos online, so these steps come from GitHub’s documentation rather than my own test. If you’re curious about other hosts, I deployed a site to Cloudflare, Netlify and Vercel for real in how to deploy an Astro site; for a plain HTML folder like this one, the “upload the folder” part is the same.
Writing the project report
Most reports follow the same skeleton: abstract, introduction, objectives, technologies used, modules, screenshots, conclusion and future scope. A few things that are specific to a template-based project:
- Technologies: HTML5, CSS3, Bootstrap 5, JavaScript (no jQuery), Font Awesome icons, and responsive design. All of that is true of this template, so you can list it with confidence.
- Modules: describe each page from the table above as a module: home, about, courses, faculty, admissions with form validation, events, fees, contact.
- Screenshots: take them of your version, after the name, photos and colours are yours, at desktop and phone width.
- Future scope: a real form service or a database for admissions, a student login, an online fee payment page, or moving the site to a content system so the office can post notices without editing HTML.
And please be honest about where the design came from. Say in the report that the site is based on the free Educatunify template from ThemeVault and describe what you changed and added. The licence asks for that too: you can use and modify the template freely, but you may not claim you designed it, and the free version keeps the small “Designed by ThemeVault” credit link in the footer. Saying “I started from a template, and here’s what I built on top of it” is far safer than being caught out in the viva, and it shows you understand the code you changed.
Questions you’ll probably get in the viva
What does responsive design mean?
The layout adapts to the screen size. Bootstrap’s grid places items side by side on a laptop and stacks them on a phone, using CSS media queries.
How does your form validation work?
Each field has rules in the HTML (required, type="email"), and the script in main.js calls the browser’s checkValidity() on submit, highlights the fields that fail, and only shows the success message when everything passes.
Where is the data stored?
In this version, nowhere, because it’s a static site with no backend. The next step would be a form service or a server-side language such as PHP or Node.js with a database.
Why Bootstrap?
It gives a tested grid, navigation bar and form styles, so the time goes into the content and features rather than rebuilding basic layout.
How would you change the colour scheme?
The colours are CSS variables in design.css, so changing --ed-brand updates every button, link and heading that uses it.
Frequently asked questions
Is this college website template really free for a project?
Yes. The HTML version is free to download and modify. The licence asks you to keep the credit link in the footer and not to claim the design as your own.
Why are the images blurry?
The photos in the download are blurred placeholders, because the demo photos are licensed for the demo only. Replace them with your own photos using the same file names.
Do I need a server or XAMPP to run it?
No. Double-click index.html and it opens in your browser. You only need a server if you add PHP or a database later.
Can I add a login page or a database?
Not in plain HTML alone. A login needs something on a server to check the password, such as PHP with MySQL, or a hosted service. For a first project, a well-made static site with working validation is usually enough; mention the login as future scope.
If Educatunify isn’t quite your style, the education category and our full list of free responsive website templates have other starting points, and every one of them opens the same way: unzip, double-click, start editing. Good luck with the viva.
More from the blog
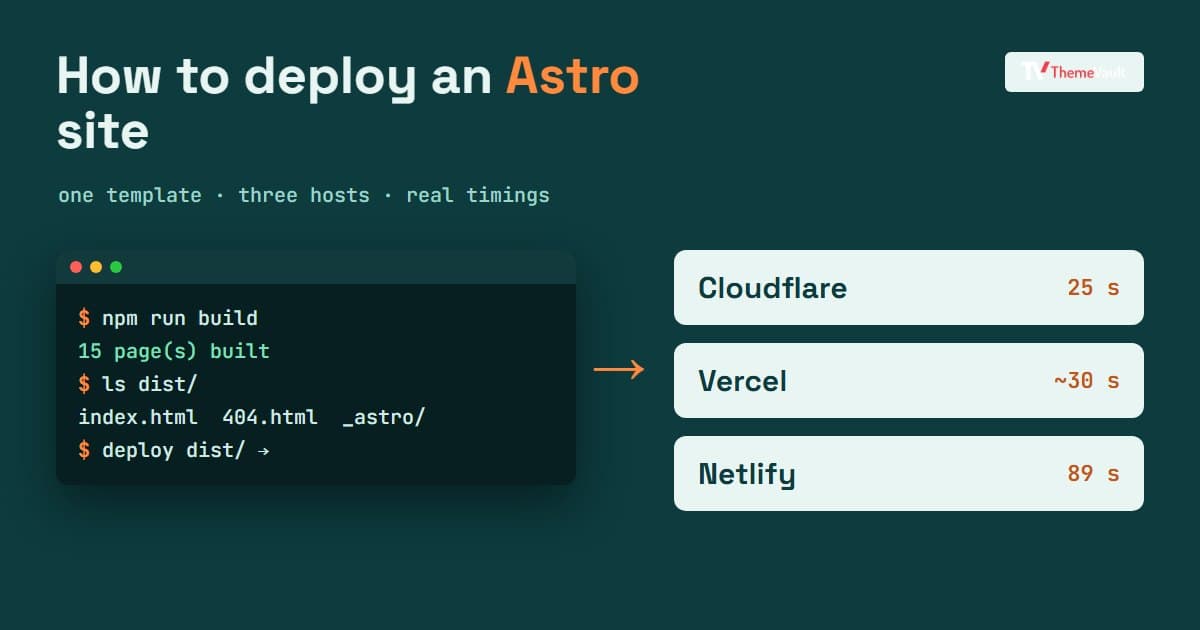
How to Deploy an Astro Site: Cloudflare, Netlify, Vercel and GitHub Pages (Tested)
One Astro template, three hosts, real timings: how to deploy a static Astro site, and the 404, canonical and login-wall surprises nobody warns you about.
Read article →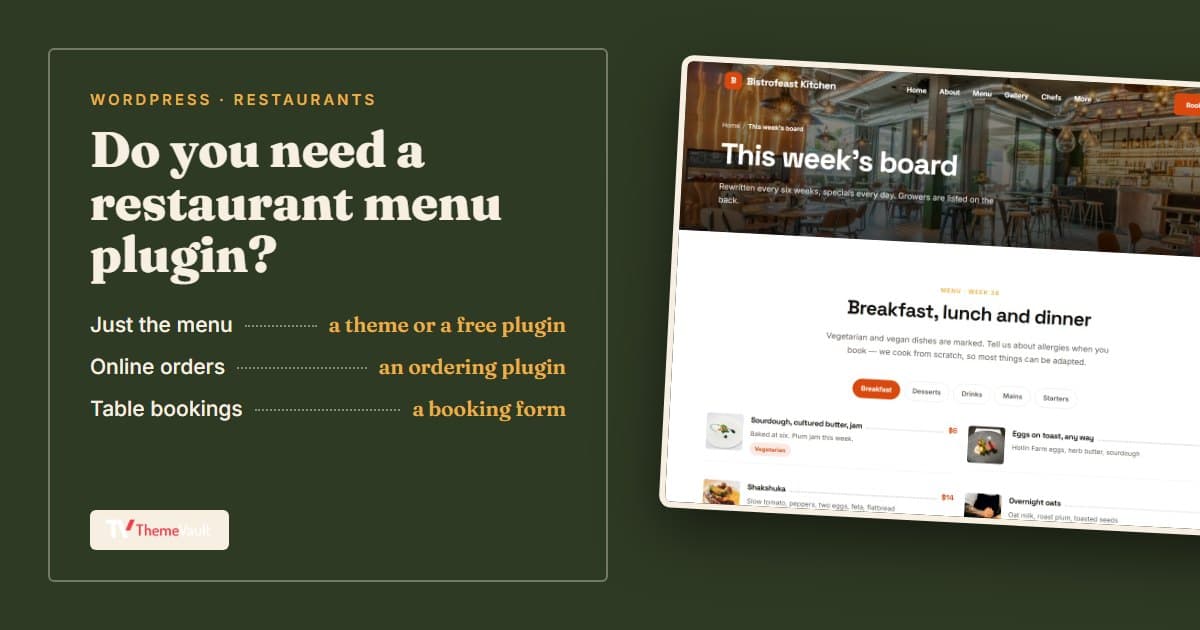
Restaurant Menu Plugins for WordPress: Which One You Need (and When You Don't)
Menu plugin, ordering plugin or a theme with the menu built in? We compared the main WordPress options on installs, ratings, updates and what's really free.
Read article →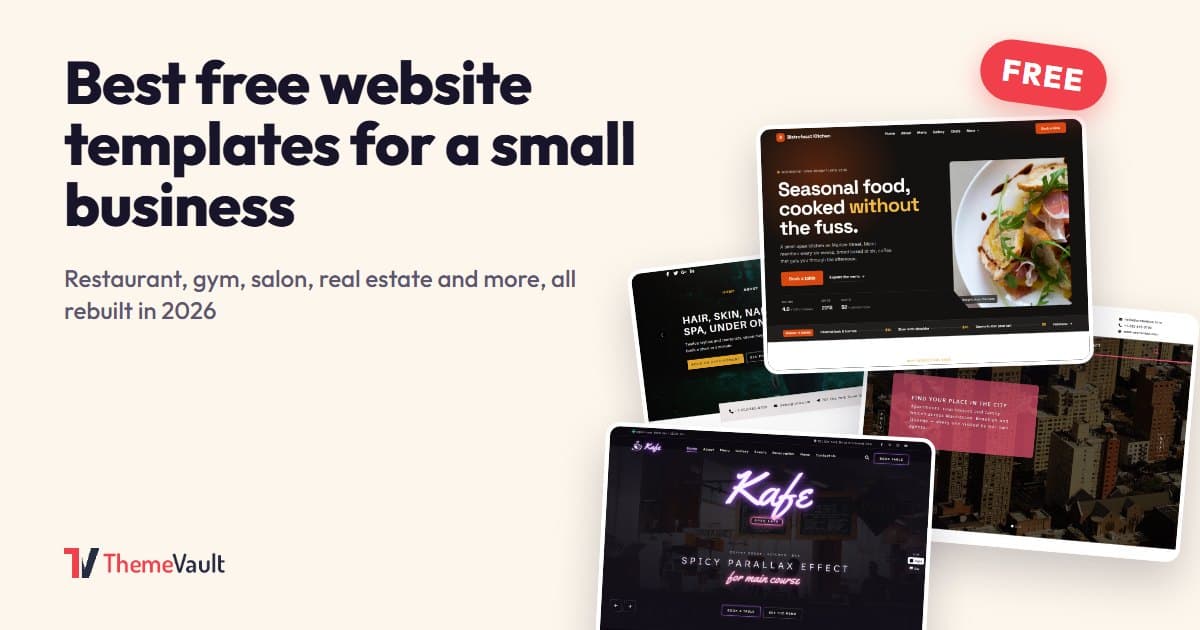
Best Free Website Templates for a Small Business (2026)
Free templates for restaurants, gyms, salons, real estate, clinics, agencies and more, all rebuilt in 2026. What to check before you download, and when paying saves time.
Read article →